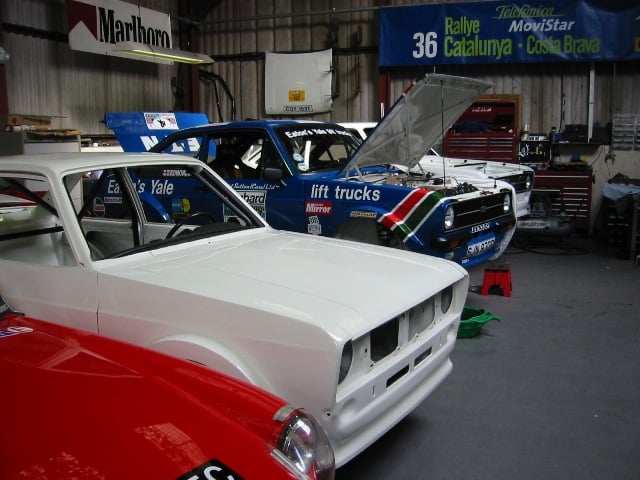
Our Projects
At Historic Motorsport (SW) Ltd we have worked on a wide variety of projects. Please click on a photo for more information and a gallery.
-
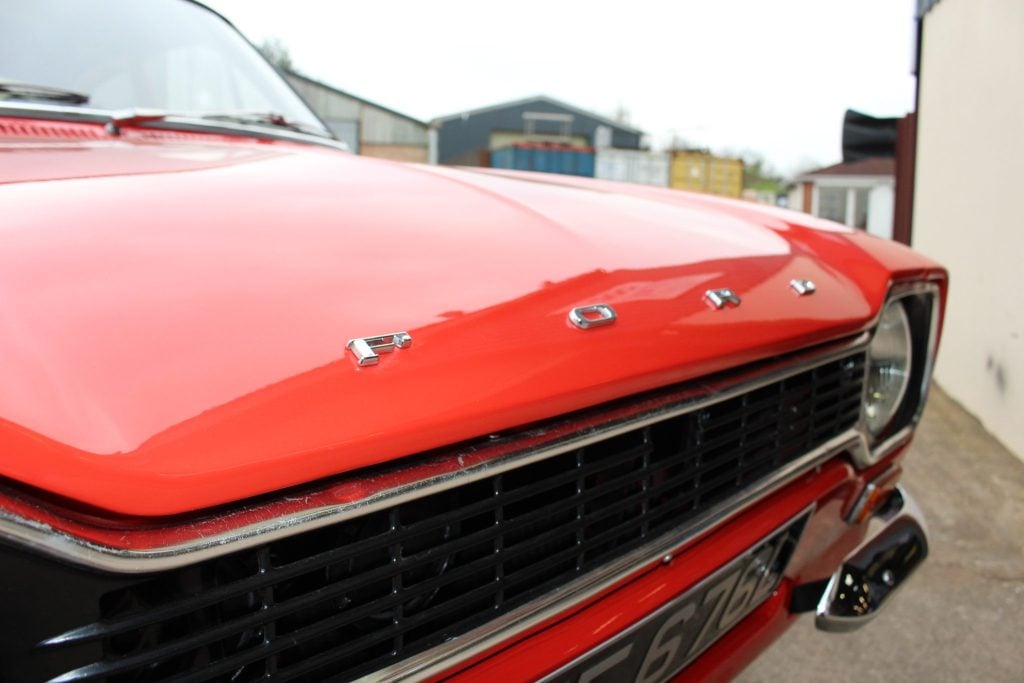
Red Mexico FHE Escort MK1
-
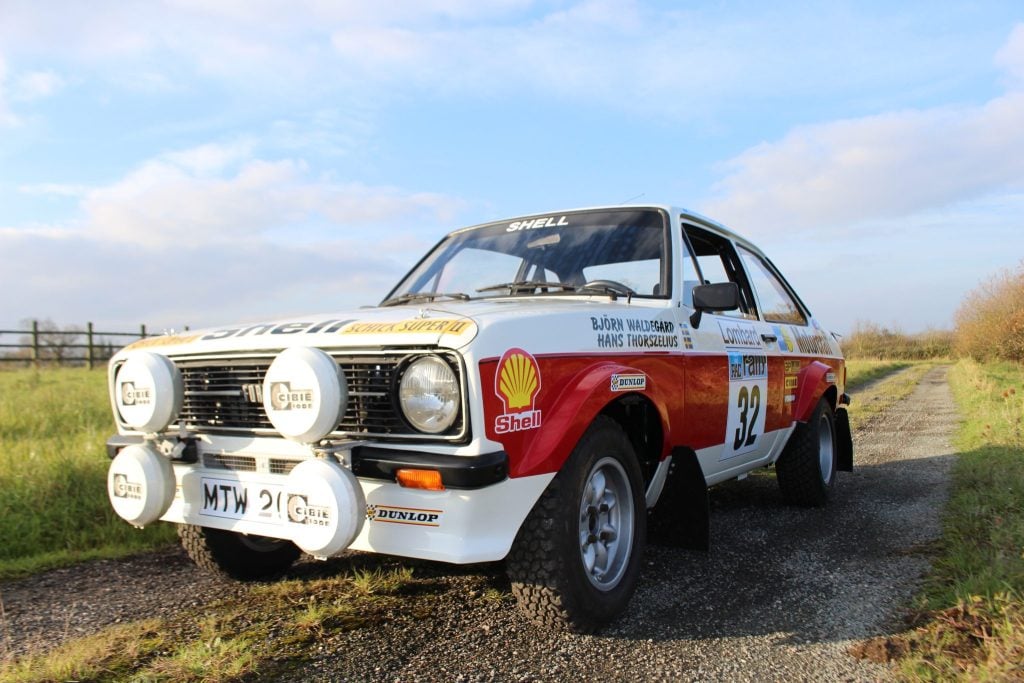
MTW 200 P
-
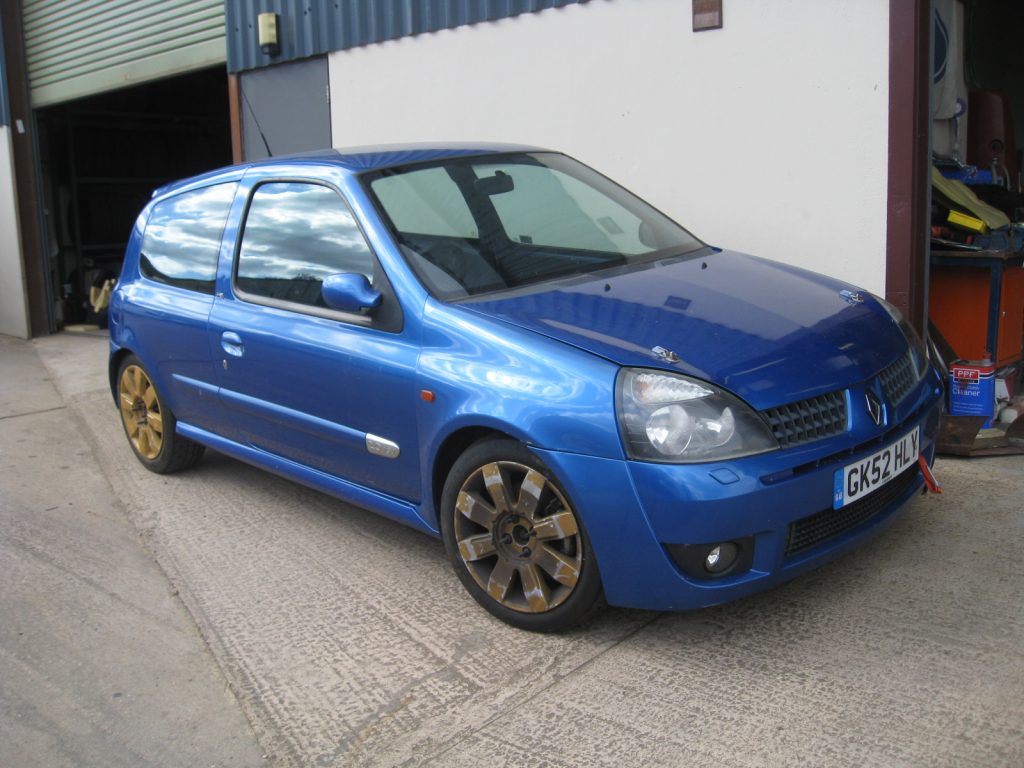
Renault Clio 172
-
Historic Group 2 Fiesta Build
-
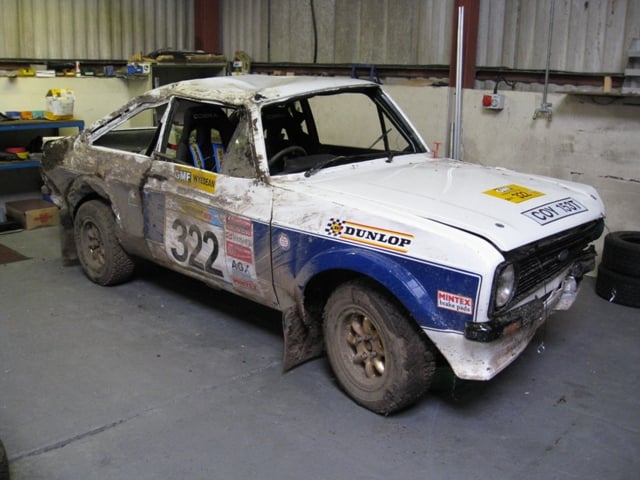
MK1 Escort Historic Rally Car
-
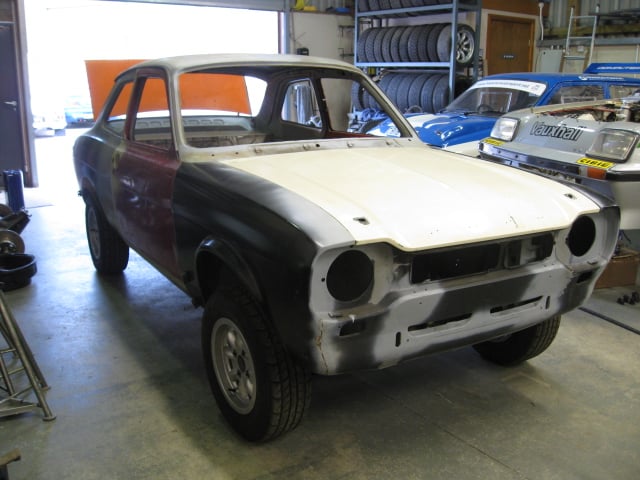
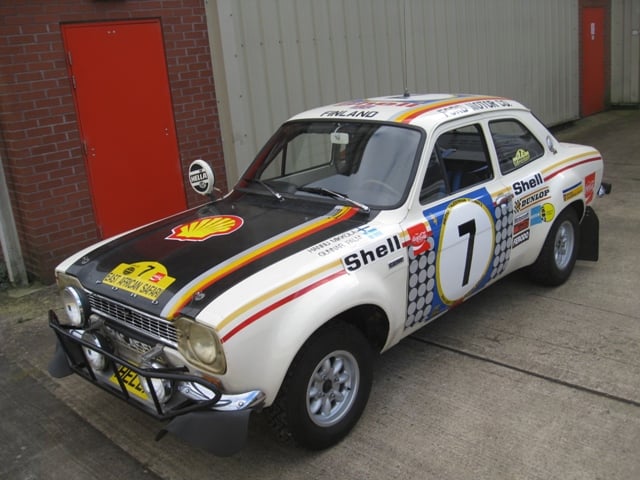
MK1 Escort Mexico Shell to be Restored
-
Escort MK2 RS2000 Full restoration
-
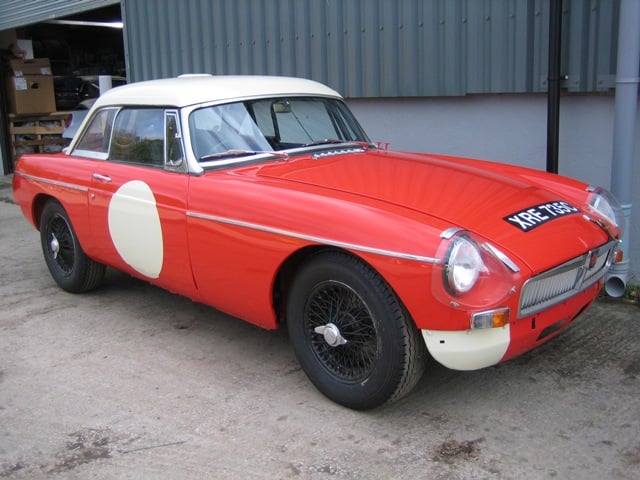
Mike Pinn’s MGB
-
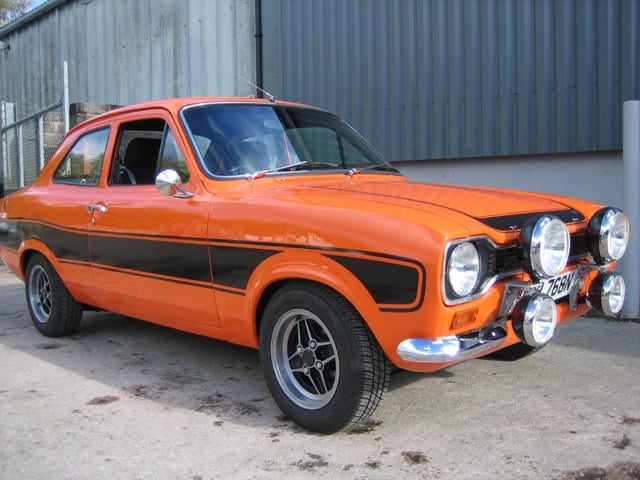
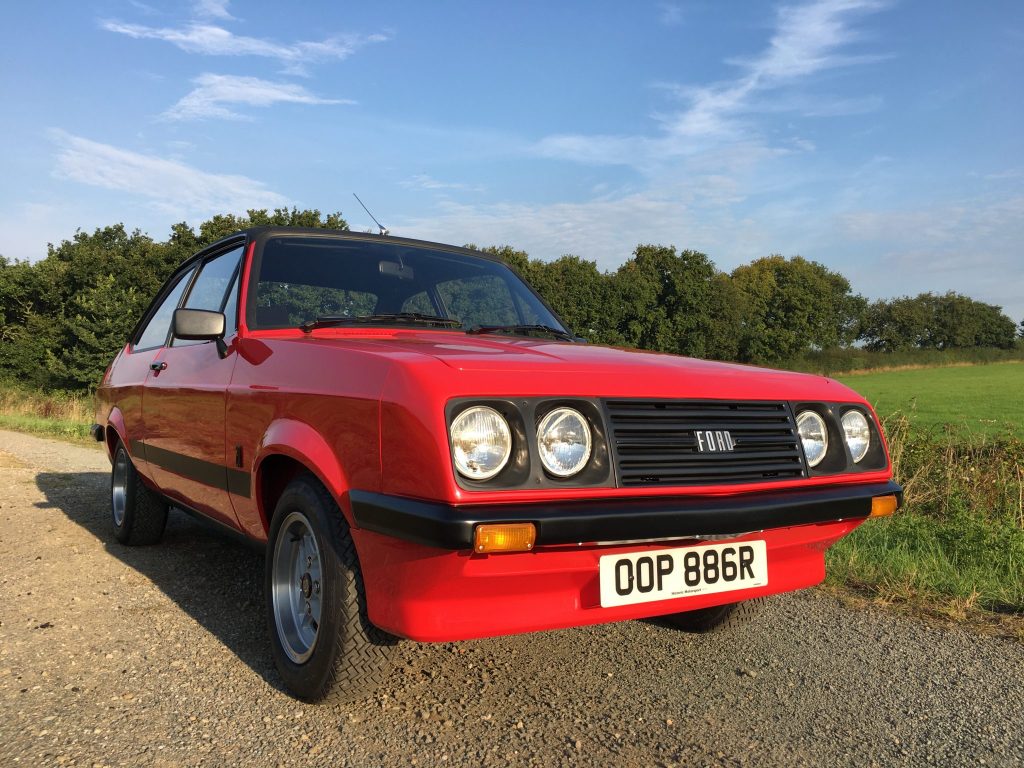
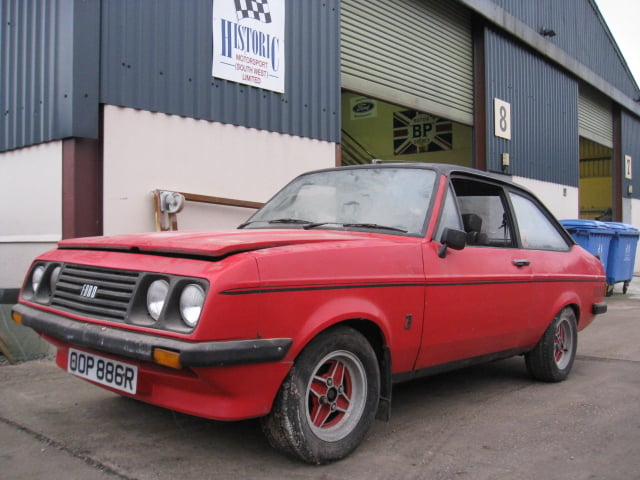
Restoration of Escort Mk1 road car
-
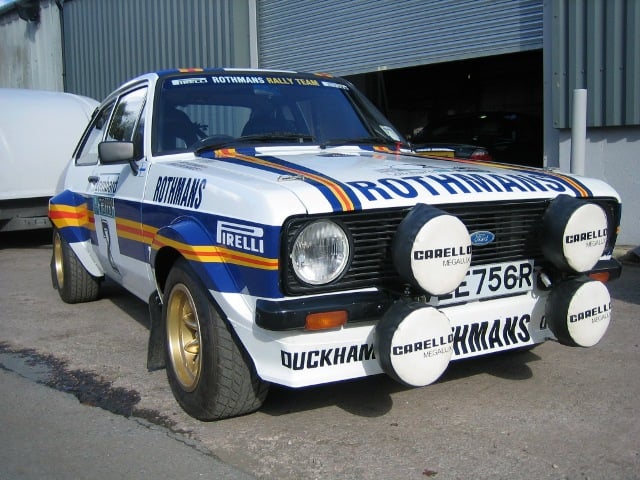
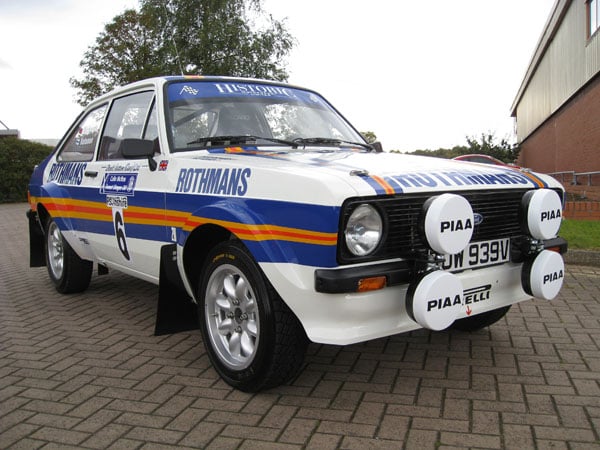
Zetec engine install to Graham Rogerson’s Rothmans replica
-
COY 153T – an Original David Sutton Car
-
New Jondel BDG Engine for SJN 830R
-
Safari Rally Winning RWC 455K
-
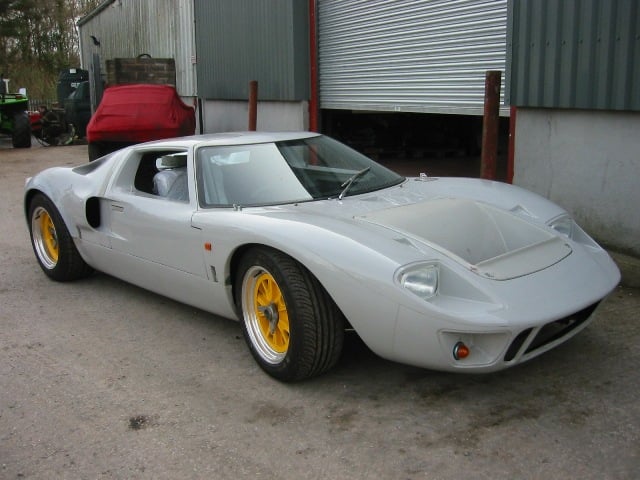
FORD GT40 Replica
-
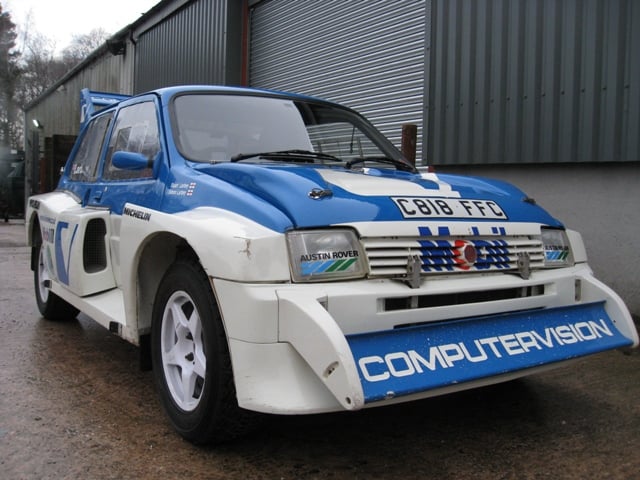
Metro 6R4 for Stuart Larbey
-
Mk2 Escort built for Ari Vatanen
-
Mk1 Escort driven by Roger Clark
-
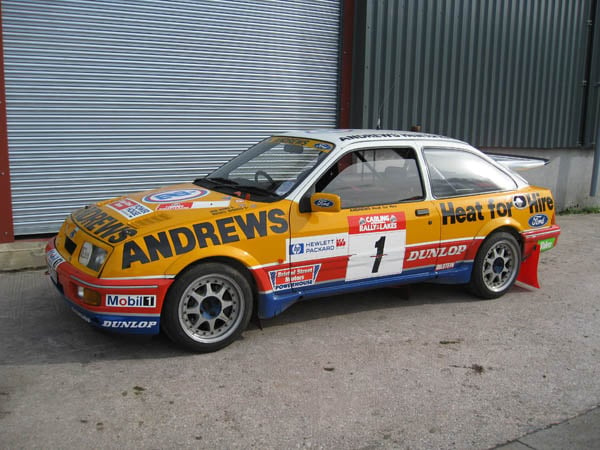
Sierra Cosworth Rally Car for the Andrews Family
-

Safari Mk1 Escort for East African Safari Rally 2007
-

Early stages of an Appendix K Mk1 Escort